The Ultimate Guide to Crayon Marks Removal: Saving Your Walls and Furniture
Ah, the joys of childhood! But along with the laughter and imaginative play often comes the inevitable: crayon marks on your walls, furniture, and just about any surface little hands can reach. Before you resign yourself to a life of colorful chaos, know that crayon marks removal is entirely possible, and often easier than you think. This comprehensive guide will equip you with the knowledge and techniques to tackle even the most stubborn crayon masterpieces, restoring your home to its former glory.
We’ll explore various methods, from everyday household items to specialized cleaning solutions, ensuring you have the right tools and strategies for different surfaces. Whether it’s your pristine painted walls, delicate wooden furniture, or even fabric surfaces, we’ve got you covered. Let’s dive in and learn how to effectively remove those pesky crayon marks!
Understanding the Enemy: What Makes Crayon Marks So Persistent?
Before launching your crayon marks removal mission, it’s helpful to understand what you’re up against. Crayons are essentially wax mixed with pigment. This waxy composition allows them to adhere strongly to surfaces, making them more challenging to remove than, say, pencil marks. The pigment adds another layer of complexity, as some colors are more prone to staining than others. This explains why red and darker shades often leave a more noticeable residue.
Furthermore, the porosity of the surface plays a significant role. Porous materials like wallpaper or unfinished wood absorb the crayon wax more readily, making crayon marks removal a bit trickier compared to smooth, non-porous surfaces like painted walls or glass. Knowing the surface type is crucial for choosing the right crayon marks removal method.
The Arsenal: Essential Tools and Cleaning Agents
Equipping yourself with the right tools and cleaning agents is half the battle won. Here’s a list of essentials for effective crayon marks removal:
- Soft Cloths or Sponges: Opt for microfiber cloths or soft sponges to avoid scratching delicate surfaces.
- Warm Water: A fundamental cleaning agent, warm water often works wonders on its own.
- Mild Dish Soap: A gentle yet effective cleaner for various surfaces.
- Baking Soda: A natural abrasive that can help lift crayon wax.
- White Vinegar: A versatile cleaning agent with mild acidic properties.
- Hair Dryer: To soften the crayon wax for easier removal.
- Toothbrush: For tackling stubborn marks in textured surfaces.
- Commercial Crayon Removers: Specially formulated products designed for crayon marks removal.
- Magic Eraser: A melamine sponge that can effectively remove crayon marks from some surfaces.
The Battle Plan: Step-by-Step Crayon Marks Removal Techniques
Now that you have your arsenal ready, let’s explore some effective crayon marks removal techniques. Remember to always test any cleaning solution on an inconspicuous area first to ensure it doesn’t damage the surface.
Method Warm Water and Dish Soap
This is often the first line of defense. Mix a few drops of mild dish soap with warm water. Dip a soft cloth into the solution, wring out the excess, and gently wipe the crayon marks. Rinse the area with clean water and dry with a clean cloth.
Method Baking Soda Paste
Create a paste by mixing baking soda with a small amount of water. Apply the paste to the crayon marks and let it sit for a few minutes. Gently scrub the area with a soft cloth or sponge. Rinse with clean water and dry.
Method White Vinegar Solution
Mix equal parts white vinegar and water in a spray bottle. Spray the solution onto the crayon marks and let it sit for a few minutes. Wipe the area with a clean cloth. Rinse with clean water and dry. The acidity in vinegar helps to break down the wax.
Method Hair Dryer and Cloth
Use a hair dryer on a low setting to heat the crayon marks. As the wax softens, wipe it away with a clean cloth. Repeat as needed until the crayon marks are gone. Be careful not to overheat the surface, especially if it’s painted.
Method Magic Eraser
Dampen a Magic Eraser and gently rub the crayon marks. Be cautious when using Magic Erasers, as they can be abrasive and may dull the finish on some surfaces. Test in an inconspicuous area first. [See also: How to Clean Walls Without Damaging Paint]
Method Commercial Crayon Removers
Follow the instructions on the product label. These removers are specially formulated to dissolve crayon wax and lift the pigment. Ensure proper ventilation when using these products. Many parents swear by these, especially for tough crayon marks removal jobs.
Method Toothpaste (Non-Gel)
Apply a small amount of non-gel toothpaste to the crayon marks. Let it sit for a few minutes, then gently scrub with a soft cloth or toothbrush. Rinse with clean water and dry. The mild abrasives in toothpaste can help lift the crayon wax.
Surface-Specific Considerations for Crayon Marks Removal
The best crayon marks removal method often depends on the surface you’re dealing with. Here’s a breakdown of how to tackle different surfaces:
Painted Walls
Painted walls are generally resilient, but it’s crucial to avoid abrasive cleaners that can damage the paint. Start with warm water and dish soap. If that doesn’t work, try baking soda paste or a Magic Eraser, but test in an inconspicuous area first. Be gentle to avoid removing the paint.
Wallpaper
Wallpaper is more delicate than painted walls. Avoid using harsh chemicals or abrasive cleaners. Start with a damp cloth and gently blot the crayon marks. If that doesn’t work, try a small amount of mild dish soap diluted in water. Always test in an inconspicuous area first. [See also: Safe Cleaning Solutions for Wallpaper]
Wood Furniture
For wood furniture, start with the hair dryer method to soften the wax. Wipe away the softened wax with a clean cloth. If any residue remains, try a small amount of mineral spirits or furniture polish. Always test in an inconspicuous area first.
Fabric Surfaces
For fabric surfaces like upholstery or carpets, try blotting the crayon marks with a clean cloth and a small amount of rubbing alcohol. Avoid rubbing, as this can spread the stain. You can also try using a commercial stain remover specifically designed for fabric. Vacuum the area after cleaning.
Glass and Mirrors
Glass and mirrors are relatively easy to clean. Warm water and dish soap are often sufficient. You can also use a glass cleaner or a mixture of white vinegar and water. Wipe the surface with a clean cloth to remove any streaks. Crayon marks removal from glass is usually a breeze.
Prevention is Key: Keeping Crayon Marks at Bay
While knowing how to remove crayon marks is essential, preventing them in the first place is even better. Here are a few tips to keep your walls and furniture crayon-free:
- Designated Coloring Area: Create a specific area for coloring, such as a table covered with paper or a designated art easel.
- Supervision: Supervise children while they are coloring to prevent them from drawing on unauthorized surfaces.
- Washable Crayons: Opt for washable crayons, which are easier to remove from most surfaces.
- Protective Coverings: Use protective coverings on furniture or walls that are prone to crayon attacks.
- Regular Cleaning: Regularly wipe down surfaces to prevent crayon marks from setting in.
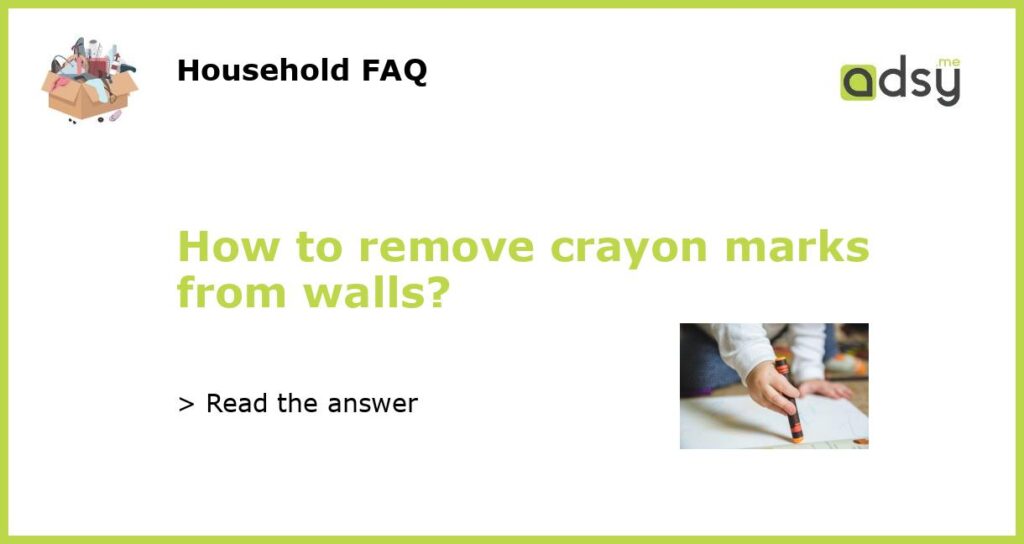
The Psychology of Crayons: Why Kids Love to Draw on Walls
Ever wondered why kids are so drawn (pun intended!) to drawing on walls? It’s not always about rebellion. For young children, walls often represent a blank canvas, a large and inviting space to express their creativity. They may not fully understand the concept of “appropriate” drawing surfaces. Understanding this can help parents approach the situation with patience and redirection, rather than frustration. Turn it into a learning experience about appropriate spaces for art. [See also: Creative Activities for Kids at Home]
Advanced Techniques for Stubborn Crayon Marks
Sometimes, despite your best efforts, certain crayon marks refuse to budge. For these particularly stubborn cases, consider these advanced techniques:
- Professional Cleaning Services: If you’ve exhausted all other options, consider hiring a professional cleaning service. They have specialized equipment and cleaning agents that can tackle even the most challenging stains.
- Steam Cleaning: Steam cleaning can be effective for removing crayon marks from some surfaces, but it’s essential to use caution and test in an inconspicuous area first.
- Re-Painting: In extreme cases, re-painting the affected area may be the only option.
Conclusion: Winning the War Against Crayon Marks
Crayon marks removal doesn’t have to be a daunting task. With the right tools, techniques, and a little patience, you can successfully restore your home to its crayon-free glory. Remember to always test cleaning solutions in an inconspicuous area first and to choose the method that is best suited for the surface you are cleaning. By following these tips, you can win the war against crayon marks and enjoy a clean and colorful home.
Ultimately, embrace the creative spirit of your children, but set clear boundaries and provide them with the appropriate outlets for their artistic expression. And when those inevitable crayon marks appear, you’ll be well-equipped to handle them with confidence and ease.
