The Ultimate Guide: How to Remove Gum from Car Upholstery Like a Pro
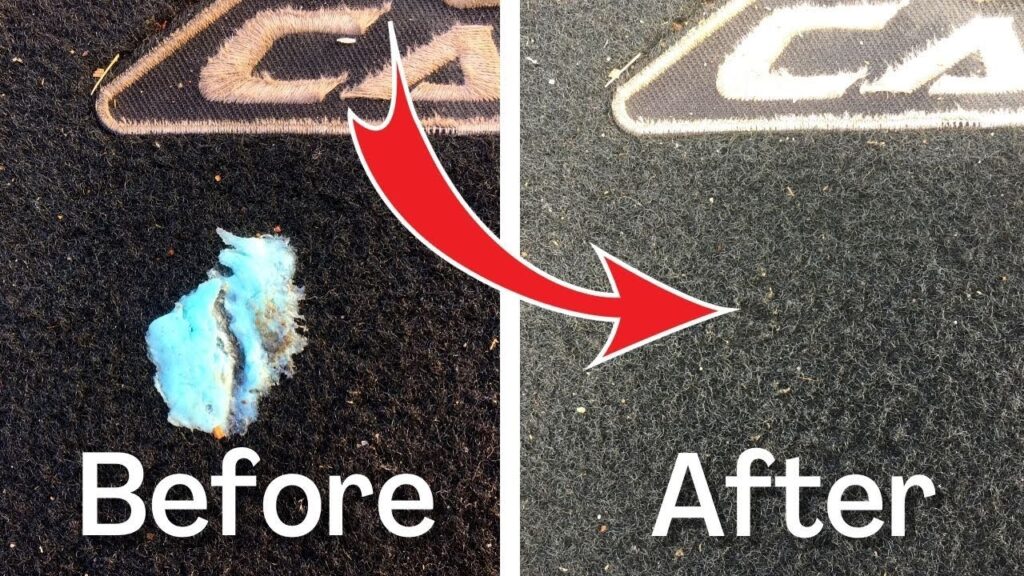
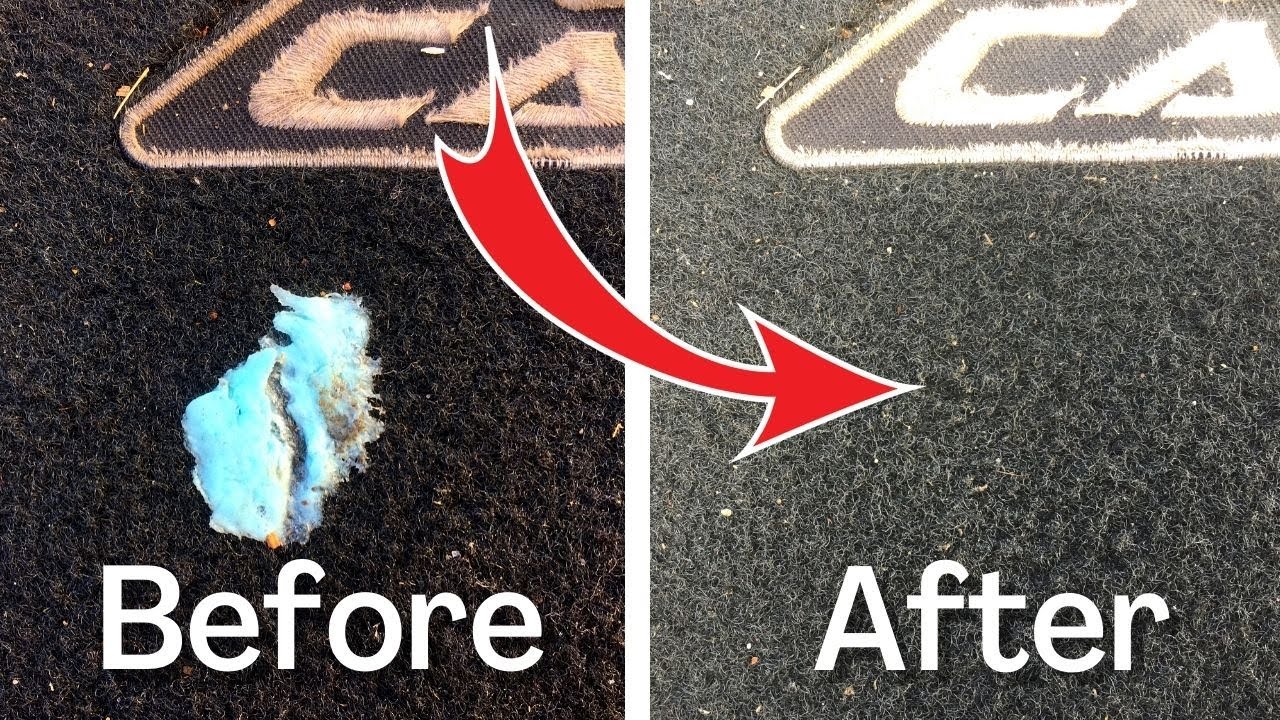
Finding a sticky wad of chewing gum stuck to your car upholstery can be a frustrating experience. Whether it’s a stray piece from your pocket or a mischievous act, removing gum from car upholstery requires patience and the right techniques. This comprehensive guide provides step-by-step instructions and proven methods to safely and effectively remove gum from car upholstery without damaging the fabric. We’ll cover everything from using readily available household items to specialized cleaning solutions, ensuring your car’s interior looks as good as new. Let’s dive in and explore the best ways to tackle this sticky situation.
Understanding the Challenge: Why is Gum So Hard to Remove?
Chewing gum’s adhesive nature makes it notoriously difficult to remove from surfaces, especially porous materials like car upholstery. The gum’s composition allows it to bond tightly with fabric fibers, making simple wiping or scraping ineffective. Furthermore, attempting to forcefully remove the gum can result in tearing or staining the upholstery, exacerbating the problem. Therefore, a strategic approach is necessary to weaken the gum’s adhesive bond before attempting removal.
Preparation is Key: Gathering Your Supplies
Before you begin the gum removal process, it’s essential to gather the necessary supplies. Having everything on hand will streamline the process and minimize the risk of further damaging your car’s interior. Here’s a list of items you’ll likely need:
- Ice Cubes or Ice Pack: To harden the gum and make it brittle.
- Plastic Bag: To hold the ice.
- Dull Scraper or Butter Knife: For carefully lifting the hardened gum.
- Soft Cloth or Microfiber Towel: For blotting and wiping.
- Mild Dish Soap: For cleaning residue.
- Warm Water: For rinsing.
- Vacuum Cleaner with Upholstery Attachment: To remove any remaining debris.
- Optional: Rubbing alcohol, WD-40, or commercial adhesive remover (test in an inconspicuous area first).
Method 1: The Freezing Technique
The freezing technique is one of the most popular and effective methods for removing gum from car upholstery. The cold temperature hardens the gum, making it easier to break apart and remove without leaving a sticky residue.
Step 1: Apply Ice
Place ice cubes in a plastic bag to prevent water from soaking into the upholstery. Press the ice-filled bag firmly against the gum for several minutes, until the gum becomes hard and brittle. The longer the ice is applied, the better the results will be.
Step 2: Scrape Away the Gum
Using a dull scraper or butter knife, carefully lift the edges of the hardened gum. Gently work the scraper underneath the gum, separating it from the upholstery fibers. Avoid using excessive force, as this could damage the fabric. If the gum becomes soft again, reapply the ice.
Step 3: Clean the Area
Once the majority of the gum has been removed, there may be a sticky residue left behind. Mix a small amount of mild dish soap with warm water. Dip a soft cloth into the soapy water and gently blot the affected area. Avoid rubbing, as this could spread the residue. Rinse the area with a clean, damp cloth to remove any soap residue. Finally, blot the area dry with a clean towel.
Method 2: The Heat Treatment
While freezing is often preferred, heat can also be used to remove gum from car upholstery. This method works by softening the gum, making it easier to lift away. However, it’s crucial to use heat carefully to avoid damaging the upholstery.
Step 1: Apply Heat
Use a hairdryer on a low setting to gently heat the gum. Hold the hairdryer a few inches away from the upholstery and move it back and forth to avoid overheating a single spot. Alternatively, you can place a piece of parchment paper over the gum and iron it on a low setting. The gum should transfer to the parchment paper.
Step 2: Lift the Softened Gum
Once the gum has softened, use a dull scraper or butter knife to carefully lift it away from the upholstery. Work slowly and gently to avoid tearing the fabric. If the gum starts to harden again, reapply heat.
Step 3: Clean the Area
As with the freezing method, clean the area with mild dish soap and warm water to remove any remaining residue. Rinse with a clean, damp cloth and blot dry.
Method 3: Solvent Solutions (Use with Caution)
For stubborn gum that doesn’t respond to freezing or heat, solvent solutions may be necessary. However, it’s crucial to use these products with extreme caution, as they can potentially damage or discolor your car’s upholstery. Always test the solvent in an inconspicuous area first to ensure it doesn’t cause any adverse effects.
Step 1: Choose Your Solvent
Several solvents can be used to remove gum from car upholstery, including rubbing alcohol, WD-40, and commercial adhesive removers. Rubbing alcohol is generally the safest option, as it evaporates quickly and is less likely to damage the fabric. WD-40 can be effective but may leave an oily residue. Commercial adhesive removers are specifically designed for removing sticky substances but can be harsh on certain materials.
Step 2: Apply the Solvent
Apply a small amount of the chosen solvent to a clean cloth. Gently blot the gum with the solvent-soaked cloth. Avoid pouring the solvent directly onto the upholstery, as this could saturate the fabric and cause damage.
Step 3: Lift the Gum
After allowing the solvent to sit for a few minutes, use a dull scraper or butter knife to carefully lift the gum away from the upholstery. The solvent should help to dissolve the adhesive bond, making the gum easier to remove.
Step 4: Clean and Rinse
Thoroughly clean the area with mild dish soap and warm water to remove any remaining solvent and gum residue. Rinse with a clean, damp cloth and blot dry. Ensure the area is completely dry to prevent mold or mildew growth.
Preventative Measures: Avoiding Gum Mishaps in the Future
While knowing how to remove gum from car upholstery is helpful, preventing gum from getting stuck in the first place is even better. Here are a few tips to avoid future gum-related mishaps:
- Dispose of Gum Properly: Always wrap used gum in paper or a wrapper before discarding it.
- Avoid Placing Gum in Pockets: If you must carry gum in your pocket, ensure it’s securely wrapped to prevent it from falling out.
- Educate Passengers: Remind passengers to be mindful of their gum and to dispose of it properly.
- Regular Cleaning: Regularly vacuum your car’s interior to remove any loose debris that could attract gum.
Professional Cleaning: When to Call in the Experts
In some cases, the gum may be too deeply embedded or the upholstery too delicate to handle the removal process yourself. If you’ve tried the above methods and are still struggling to remove gum from car upholstery, or if you’re concerned about damaging your car’s interior, it’s best to consult a professional auto detailing service. They have the expertise and specialized equipment to safely and effectively remove gum without causing any damage. [See also: Car Detailing Services Near Me]
Conclusion: Restoring Your Car’s Interior
Removing gum from car upholstery can be a challenging task, but with the right techniques and a little patience, you can restore your car’s interior to its original condition. Whether you choose the freezing method, heat treatment, or solvent solutions, remember to proceed with caution and always test products in an inconspicuous area first. By following the steps outlined in this guide, you can confidently tackle this sticky situation and maintain a clean and comfortable driving environment. Remember to always prioritize preventative measures to avoid future gum-related incidents. Now you’re equipped with the knowledge to confidently remove gum from car upholstery and keep your ride looking its best!

