The Best Way to Remove Auto Decals: A Comprehensive Guide
Auto decals are a common sight on vehicles, serving as a form of personal expression, advertising, or simply adding a unique touch. However, there comes a time when you might want to remove these decals, whether it’s to update your vehicle’s look, prepare it for sale, or remove outdated advertising. Knowing the best way to remove auto decals is crucial to avoid damaging your car’s paint and ensuring a clean finish. This comprehensive guide will walk you through various methods, tools, and techniques to safely and effectively remove auto decals.
Understanding Auto Decals and Their Adhesives
Before diving into the removal process, it’s essential to understand the nature of auto decals and the adhesives used to attach them. Auto decals are typically made from vinyl, which is durable and weather-resistant. The adhesive, however, can become quite stubborn over time, especially when exposed to sunlight and varying temperatures. This is why some decals peel off easily, while others require more effort.
Different types of adhesives are used in auto decals, ranging from light-tack to high-tack. The strength of the adhesive will influence the removal method you choose. Older decals tend to be more challenging to remove due to the adhesive becoming brittle and bonding more strongly with the paint surface. It’s important to choose the best way to remove auto decals based on the age and type of decal.
Essential Tools and Materials
Having the right tools and materials on hand is essential for a successful decal removal. Here’s a list of items you’ll likely need:
- Heat Gun or Hair Dryer: To soften the adhesive.
- Plastic Razor Blades or Scrapers: To lift the decal without scratching the paint. Avoid metal blades as they can cause damage.
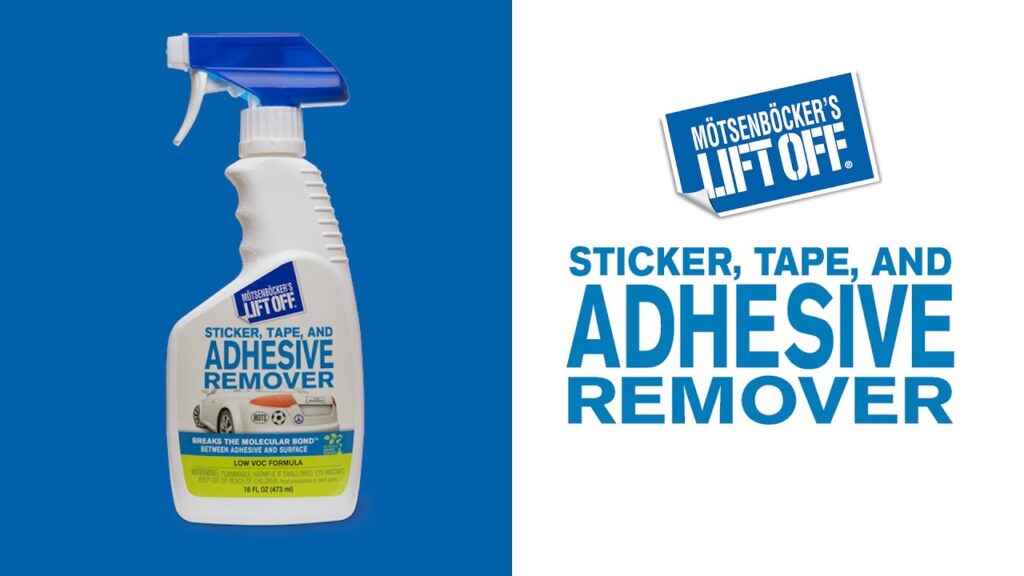
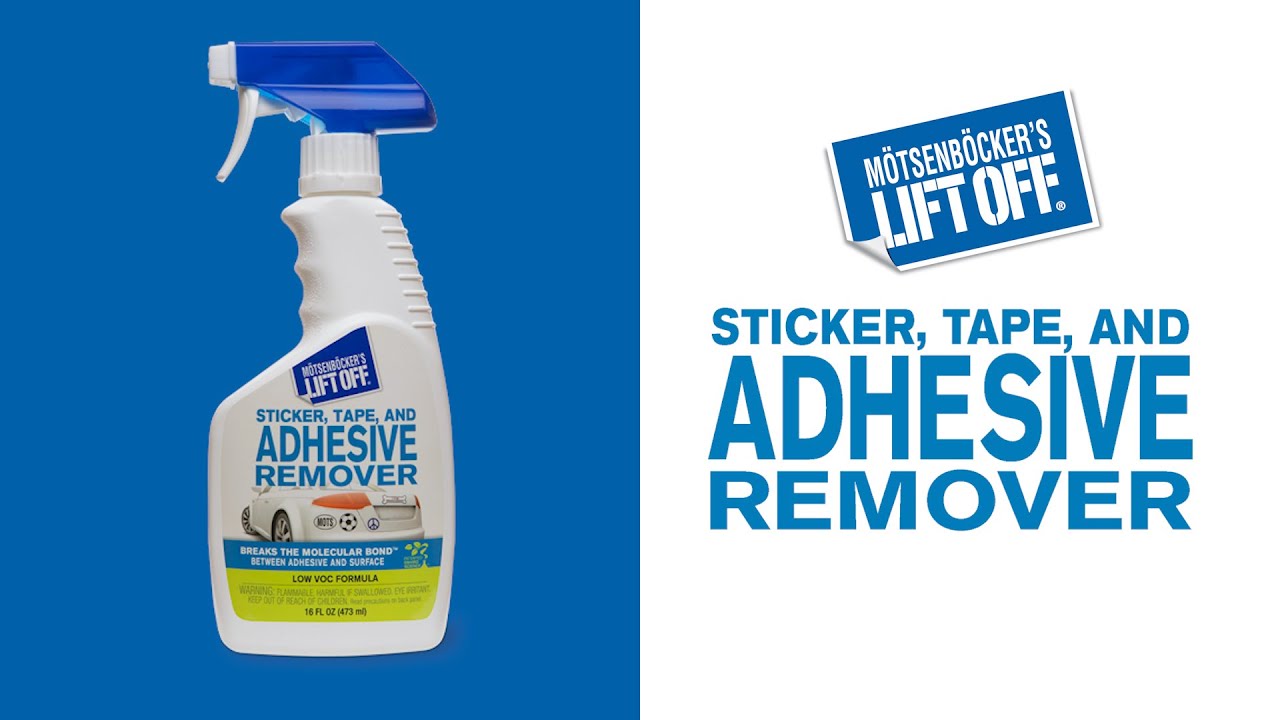
- Adhesive Remover: Specifically designed for automotive use. Options include Goo Gone Automotive, 3M Adhesive Remover, or similar products.
- Microfiber Cloths: For cleaning and wiping surfaces.
- Spray Bottle: To apply adhesive remover.
- Rubbing Alcohol (Isopropyl Alcohol): For cleaning residue.
- Car Wash Soap and Water: To clean the area before and after decal removal.
- Wax or Polish: To protect the paint after removing the decal.
- Gloves: To protect your hands from chemicals and heat.
Using these tools strategically is part of finding the best way to remove auto decals for your situation.
Step-by-Step Guide to Removing Auto Decals
Preparation
Start by washing the area around the decal with car wash soap and water. This removes dirt and grime that could scratch the paint during the removal process. Dry the area thoroughly with a microfiber cloth. This pre-cleaning step is crucial in ensuring a smooth and safe removal process, contributing to the best way to remove auto decals.
Applying Heat
Using a heat gun or hair dryer, apply heat to the decal in a sweeping motion. Hold the heat source a few inches away from the decal to avoid overheating the paint. The goal is to soften the adhesive, making it easier to peel off. Focus on one section at a time, heating it for about 30-60 seconds. The heat helps in finding the best way to remove auto decals by loosening the adhesive bonds.
Peeling the Decal
Once the decal is heated, use a plastic razor blade or scraper to gently lift an edge of the decal. Start at a corner or edge and slowly peel the decal away from the surface. Continue applying heat as you peel, working in small sections. Avoid pulling the decal too quickly, as this can leave behind adhesive residue. Patience is key in finding the best way to remove auto decals without damaging the paint.
If the decal is large, you may need to use both hands – one to hold the heat gun and the other to peel the decal. Work slowly and steadily, ensuring that the adhesive is softening as you go. This methodical approach is often the best way to remove auto decals, especially for older or more stubborn decals. [See also: How to Detail Your Car Like a Pro]
Removing Adhesive Residue
After removing the decal, there will likely be some adhesive residue left on the paint. This is where the adhesive remover comes in handy. Spray the adhesive remover onto the affected area and let it sit for a few minutes, following the product’s instructions. The remover will break down the adhesive, making it easier to wipe away. This step is vital in achieving the best way to remove auto decals and leaving a clean surface.
Use a microfiber cloth to gently wipe away the residue. If the residue is stubborn, you may need to reapply the adhesive remover and let it sit for a longer period. Avoid using abrasive materials or excessive force, as this can scratch the paint. For particularly tough residue, try using a plastic scraper with the adhesive remover. Rubbing alcohol can also be used to remove any remaining traces of adhesive. This thorough cleaning is part of the best way to remove auto decals to ensure a flawless finish.
Cleaning and Protecting the Surface
Once all the adhesive residue is removed, clean the area with car wash soap and water to remove any remaining adhesive remover. Dry the area thoroughly with a clean microfiber cloth. Finally, apply a coat of wax or polish to protect the paint and restore its shine. This final step is crucial in the best way to remove auto decals, ensuring the paint remains protected and looking its best.
Alternative Methods for Removing Auto Decals
Using a Rubber Eraser Wheel
A rubber eraser wheel, also known as a decal removal wheel, is a specialized tool designed to remove decals and adhesive residue quickly and efficiently. This tool attaches to a drill and uses friction to gently remove the decal without damaging the paint. It’s often considered one of the best way to remove auto decals for professionals and enthusiasts alike.
To use a rubber eraser wheel, attach it to a drill and start at a low speed. Gently apply the wheel to the decal, moving it back and forth. Increase the speed gradually as needed, but avoid applying too much pressure, as this can damage the paint. The eraser wheel will break down the decal and adhesive, leaving a clean surface. After using the eraser wheel, clean the area with car wash soap and water, and apply wax or polish. [See also: Car Detailing Tips for Beginners]
Using a Steamer
A steamer can also be used to remove auto decals. The steam softens the adhesive, making it easier to peel off the decal. This method is particularly useful for delicate surfaces or when you want to avoid using chemicals. Using a steamer is a gentle option and can be the best way to remove auto decals in certain situations.
To use a steamer, direct the steam nozzle at the decal, holding it a few inches away from the surface. Move the nozzle back and forth, allowing the steam to penetrate the decal and soften the adhesive. After a few minutes, try peeling the decal with a plastic razor blade. Continue steaming as you peel, ensuring that the adhesive remains soft. Once the decal is removed, clean the area with car wash soap and water, and apply wax or polish.
Common Mistakes to Avoid
Removing auto decals can be tricky, and it’s easy to make mistakes that can damage your vehicle’s paint. Here are some common mistakes to avoid:
- Using Metal Blades: Metal blades can easily scratch the paint. Always use plastic razor blades or scrapers.
- Applying Too Much Heat: Overheating the paint can cause it to blister or fade. Use a heat gun or hair dryer on a low setting and keep it moving.
- Using Abrasive Cleaners: Abrasive cleaners can scratch the paint. Stick to automotive-specific adhesive removers and microfiber cloths.
- Pulling Too Quickly: Rushing the removal process can leave behind adhesive residue and damage the decal. Work slowly and steadily.
- Ignoring Safety Precautions: Always wear gloves and eye protection when working with chemicals and heat.
Avoiding these mistakes is crucial in ensuring the best way to remove auto decals and preserving the integrity of your vehicle’s paint.
Preventative Measures and Maintenance
Once you’ve successfully removed the auto decal, it’s important to take preventative measures to protect the paint and maintain its appearance. Applying a coat of wax or polish after decal removal is essential to protect the paint from the elements and restore its shine. Regular washing and waxing will help keep your vehicle looking its best. Taking these steps is part of the best way to remove auto decals and maintain your car’s appearance long-term.
If you plan to apply new decals, consider using high-quality vinyl and adhesives designed for automotive use. These materials are less likely to cause damage to the paint and are easier to remove when the time comes. Proper application and maintenance of decals can also extend their lifespan and prevent them from becoming brittle and difficult to remove. Choosing the right materials contributes to the best way to remove auto decals in the future.
Conclusion
Removing auto decals can be a straightforward process if you have the right tools, knowledge, and patience. By following the steps outlined in this guide, you can safely and effectively remove auto decals without damaging your vehicle’s paint. Remember to take your time, use the appropriate tools, and follow safety precautions. Whether you choose to use heat, adhesive removers, or specialized tools like a rubber eraser wheel, the best way to remove auto decals is the method that works best for your specific situation and decal type. With a little effort, you can restore your vehicle’s appearance and enjoy a clean, decal-free look.

