Replacing a Distributor Cap: A Comprehensive Guide
The distributor cap is a critical component of your vehicle’s ignition system, responsible for distributing high voltage from the ignition coil to the correct spark plug in the correct firing order. Over time, distributor caps can wear out due to heat, moisture, and general wear and tear. Recognizing the signs of a failing distributor cap and knowing how to replace it can save you money on costly mechanic bills and ensure your vehicle runs smoothly. This guide provides a step-by-step approach to replacing a distributor cap, along with essential tips and considerations.
Understanding the Distributor Cap
Before diving into the replacement process, it’s crucial to understand the function and anatomy of the distributor cap. The distributor cap is typically made of plastic or Bakelite and sits atop the distributor. Inside, it houses a rotor that spins and makes contact with terminals corresponding to each spark plug. The high voltage electricity is then sent through these terminals to the spark plugs, igniting the air-fuel mixture in the engine cylinders. A faulty distributor cap can lead to misfires, rough idling, and even a complete engine stall.
Common Symptoms of a Failing Distributor Cap
- Engine Misfires: One of the most common symptoms is an engine misfire, which can be felt as a jerking or sputtering sensation.
- Rough Idling: A worn distributor cap can cause the engine to idle roughly, often accompanied by unusual vibrations.
- Difficulty Starting: If the distributor cap is severely damaged, it may prevent the engine from starting altogether.
- Reduced Fuel Efficiency: A failing ignition system can lead to incomplete combustion, reducing fuel economy.
- Check Engine Light: In some cases, a faulty distributor cap can trigger the check engine light.
Tools and Materials Needed
Before you begin replacing a distributor cap, gather the necessary tools and materials:
- New distributor cap (ensure it’s the correct part for your vehicle)
- Distributor rotor (recommended to replace along with the cap)
- Screwdriver (usually flathead or Phillips head, depending on your vehicle)
- Socket set with ratchet
- Spark plug wire puller (optional, but highly recommended)
- Pen or marker for labeling wires
- Clean rag
- Dielectric grease
- Safety glasses
- Gloves
Step-by-Step Guide to Replacing a Distributor Cap
Follow these steps carefully to ensure a successful distributor cap replacement:
Step 1: Safety First – Disconnect the Battery
Before starting any automotive work, disconnect the negative terminal of the battery to prevent electrical shocks or short circuits. Use a wrench to loosen the nut on the negative terminal and carefully remove the cable.
Step 2: Locate the Distributor Cap
The distributor cap is typically located on the engine block, often near the front or side. Refer to your vehicle’s repair manual if you’re unsure of its exact location.
Step 3: Label the Spark Plug Wires
This is arguably the most important step. Use a pen or marker to label each spark plug wire before disconnecting it from the old distributor cap. Label both the wire and the corresponding terminal on the cap. This will ensure you reconnect the wires in the correct firing order, which is crucial for proper engine operation. You can also take a picture as a reference.
Step 4: Disconnect the Spark Plug Wires
Using a spark plug wire puller (or your hands), carefully disconnect each spark plug wire from the distributor cap. Pull straight out to avoid damaging the wires or the cap. If the wires are stuck, gently twist and pull. Place the wires aside, ensuring they don’t touch each other or any metal parts of the engine.
Step 5: Remove the Old Distributor Cap
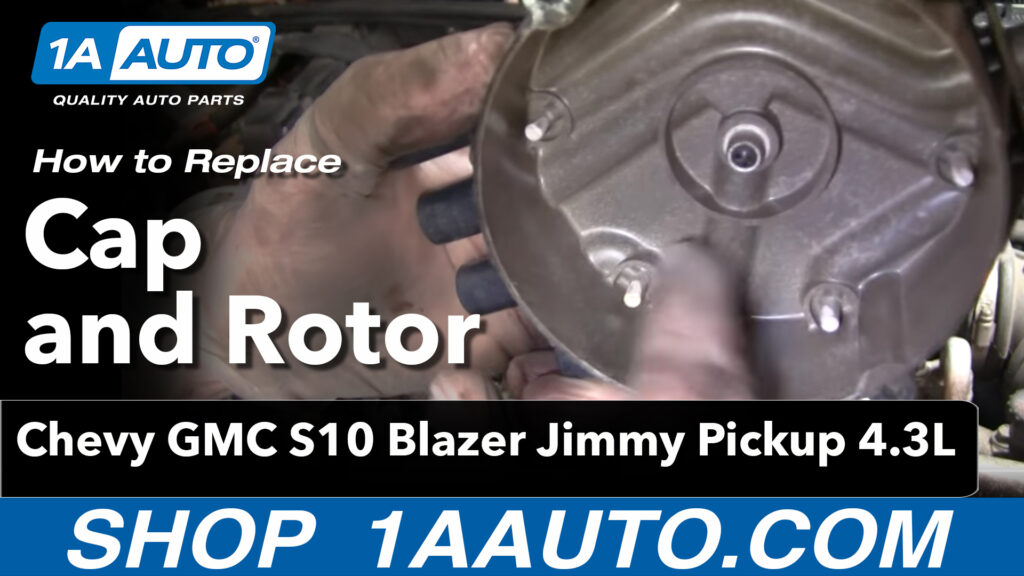
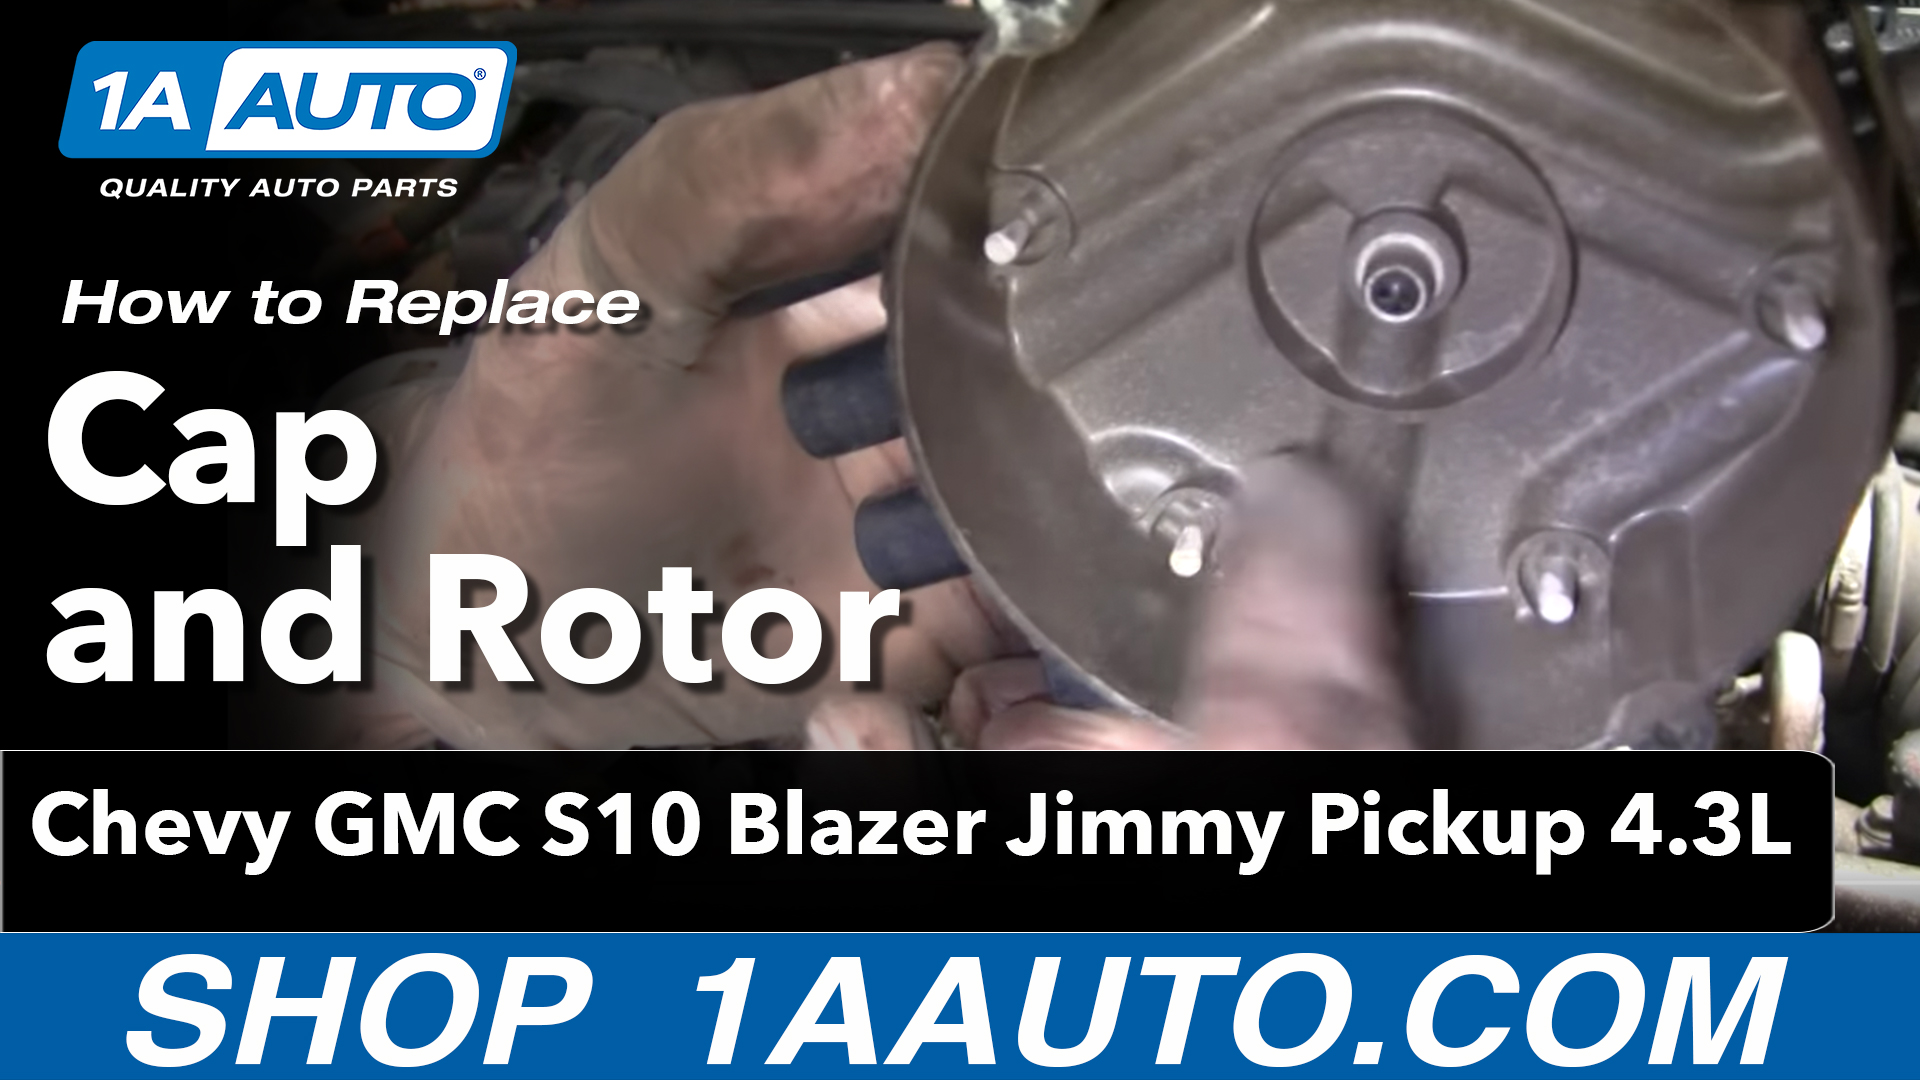
Most distributor caps are held in place by screws or clips. Use a screwdriver or socket wrench to remove the fasteners. Once the fasteners are removed, carefully lift the old distributor cap off the distributor. Be mindful of any vacuum lines or other components that may be attached.
Step 6: Inspect the Rotor
With the distributor cap removed, you’ll see the rotor. Inspect the rotor for signs of wear, corrosion, or damage. If the rotor looks worn, it’s highly recommended to replace it along with the distributor cap. To remove the rotor, simply pull it straight up and off the distributor shaft. Some rotors may be held in place by a screw.
Step 7: Install the New Rotor (If Applicable)
If you’re replacing the rotor, align the new rotor with the distributor shaft and press it firmly into place. If there’s a screw, tighten it securely.
Step 8: Install the New Distributor Cap
Align the new distributor cap with the distributor and press it into place. Ensure it’s seated correctly and that the fasteners line up. Reinstall the screws or clips and tighten them securely.
Step 9: Reconnect the Spark Plug Wires
Referring to your labels or the picture you took, reconnect each spark plug wire to the corresponding terminal on the new distributor cap. Ensure the wires are securely attached and that they click into place. Double-check the firing order to avoid misfires.
Step 10: Apply Dielectric Grease
Apply a small amount of dielectric grease to the inside of each spark plug wire boot. This will help prevent corrosion and ensure a good electrical connection.
Step 11: Reconnect the Battery
Reconnect the negative terminal of the battery. Tighten the nut securely.
Step 12: Start the Engine and Test
Start the engine and listen for any unusual noises or misfires. If the engine runs smoothly, you’ve successfully replaced the distributor cap. If you experience any problems, double-check the spark plug wire connections and the firing order.
Tips for a Successful Distributor Cap Replacement
- Buy Quality Parts: Invest in a high-quality distributor cap and rotor from a reputable manufacturer. Cheap parts may not last as long and could cause performance issues.
- Take Your Time: Don’t rush the process. Take your time and pay attention to detail.
- Label Everything: Labeling the spark plug wires is crucial to avoid misfires.
- Consult Your Vehicle’s Repair Manual: Your vehicle’s repair manual can provide specific instructions and diagrams for replacing the distributor cap on your model.
- Consider Replacing the Spark Plugs: If your spark plugs are old or worn, consider replacing them at the same time as the distributor cap. [See also: How to Replace Spark Plugs]
- Check the Timing: After replacing the distributor cap, it’s a good idea to check the engine timing to ensure it’s within specifications. [See also: Adjusting Engine Timing]
When to Seek Professional Help
While replacing a distributor cap is a relatively straightforward task, there are situations where it’s best to seek professional help:
- You’re Unsure of the Process: If you’re not comfortable working on your vehicle’s ignition system, it’s best to leave the job to a qualified mechanic.
- You Encounter Problems: If you encounter problems during the replacement process, such as stripped screws or damaged wires, seek professional assistance.
- The Engine Still Runs Poorly: If the engine still runs poorly after replacing the distributor cap, there may be other underlying issues that require diagnosis by a mechanic.
Conclusion
Replacing a distributor cap is a manageable task for the average DIY enthusiast. By following this comprehensive guide and taking your time, you can save money on mechanic bills and ensure your vehicle runs smoothly. Remember to prioritize safety, label everything carefully, and consult your vehicle’s repair manual for specific instructions. A properly functioning distributor cap is vital for optimal engine performance and reliability.

