How to Remove Old Silicone Caulking: A Comprehensive Guide
Silicone caulk is a versatile sealant used in various applications, from bathrooms and kitchens to windows and doors. Over time, however, silicone caulk can deteriorate, crack, or become discolored, diminishing its effectiveness and aesthetic appeal. Knowing how to remove old silicone caulking is essential for maintaining the integrity and appearance of your home. This comprehensive guide will walk you through the necessary steps, tools, and techniques to safely and effectively remove old silicone caulk, preparing the surface for fresh application.
Why Remove Old Silicone Caulking?
Before diving into the removal process, it’s important to understand why removing old caulk is necessary. Here are a few key reasons:
- Aesthetics: Old caulk can become stained, moldy, or discolored, making surfaces look unsightly.
- Functionality: Cracked or deteriorated caulk loses its ability to seal effectively, leading to water damage, leaks, and potential mold growth.
- Proper Adhesion: Applying new caulk over old, damaged caulk prevents proper adhesion and compromises the seal’s integrity.
Tools and Materials You’ll Need
Gathering the right tools and materials is crucial for a smooth and efficient removal process. Here’s a list of essentials:
- Utility Knife or Caulk Removal Tool: For cutting and scraping away the old caulk.
- Putty Knife or Scraper: For removing stubborn residue.
- Caulk Softener or Remover: Chemical solutions designed to break down silicone caulk.
- Heat Gun or Hair Dryer: To soften the caulk and make it easier to remove (optional).
- Cleaning Supplies: Including a scrub brush, sponge, and cleaning solution (e.g., mineral spirits, rubbing alcohol).
- Safety Gear: Gloves, safety glasses, and a mask to protect yourself from chemicals and debris.
- Paper Towels or Rags: For wiping surfaces and cleaning up spills.
Step-by-Step Guide to Removing Old Silicone Caulking
Follow these steps to effectively remove old silicone caulking:
Step 1: Prepare the Area
Start by preparing the area around the caulk. Cover nearby surfaces with drop cloths or plastic sheeting to protect them from debris and cleaning solutions. Ensure the area is well-ventilated, especially if you’re using chemical caulk removers.
Step 2: Soften the Caulk (Optional)
Applying heat can soften the caulk and make it easier to remove. Use a heat gun or hair dryer on a low setting, holding it a few inches away from the caulk. Move the heat source back and forth to avoid overheating the surface. Be cautious when using heat near flammable materials.
Step 3: Cut the Caulk
Using a utility knife or caulk removal tool, carefully cut along both edges of the caulk bead. Angle the blade slightly inward to avoid damaging the surrounding surfaces. Make sure to apply steady pressure and maintain a consistent cutting depth. This initial cut is crucial for separating the caulk from the surface.
Step 4: Scrape Away the Caulk
Once you’ve cut the edges, use a putty knife or scraper to start removing the caulk. Begin at one end and gently pry the caulk away from the surface. Work slowly and carefully to avoid damaging the underlying material. If the caulk is particularly stubborn, try using a caulk removal tool designed for this purpose. These tools often have a curved blade that helps to lift the caulk without scratching the surface.
Step 5: Apply Caulk Remover
If scraping alone isn’t enough, apply a caulk softener or remover according to the manufacturer’s instructions. These chemical solutions help to break down the silicone, making it easier to remove. Apply the remover liberally to the remaining caulk residue and let it sit for the recommended time (usually 15-30 minutes). Make sure to wear gloves and safety glasses when using these products.
Step 6: Remove Remaining Residue
After the caulk remover has had time to work, use a putty knife or scraper to remove any remaining residue. You may need to apply additional caulk remover for particularly stubborn areas. For small bits of residue, try using a scrub brush or sponge with a cleaning solution like mineral spirits or rubbing alcohol. These solvents can help to dissolve any remaining silicone.
Step 7: Clean the Surface
Once you’ve removed all the old caulk and residue, thoroughly clean the surface. Use a scrub brush or sponge with a cleaning solution to remove any dirt, grime, or mildew. Rinse the surface with clean water and allow it to dry completely before applying new caulk. A clean, dry surface is essential for proper adhesion of the new caulk.
Tips and Tricks for Removing Old Silicone Caulking
Here are some additional tips and tricks to make the process even easier:
- Work in Sections: If you’re dealing with a large area, work in small sections to prevent the caulk remover from drying out.
- Use the Right Tool: A sharp utility knife or specialized caulk removal tool is essential for making clean cuts and avoiding damage to the surrounding surfaces.
- Be Patient: Removing old caulk can be time-consuming, especially if it’s been in place for many years. Be patient and persistent, and don’t rush the process.
- Test in an Inconspicuous Area: Before using any chemical caulk removers, test them in an inconspicuous area to ensure they won’t damage the surface.
- Wear Proper Safety Gear: Always wear gloves, safety glasses, and a mask when working with caulk removers and scraping tools to protect yourself from chemicals and debris.
- Ventilate the Area: Ensure the area is well-ventilated to avoid inhaling harmful fumes from caulk removers.
Common Mistakes to Avoid
To ensure a successful outcome, avoid these common mistakes:
- Using the Wrong Tools: Using dull or inappropriate tools can make the process more difficult and increase the risk of damaging the surface.
- Applying Too Much Pressure: Applying too much pressure when cutting or scraping can damage the surrounding surfaces.
- Skipping the Cleaning Step: Failing to clean the surface thoroughly before applying new caulk can compromise the adhesion and lead to premature failure.
- Not Allowing Enough Time for Caulk Remover: Rushing the process and not allowing enough time for the caulk remover to work can make it more difficult to remove the residue.
- Ignoring Safety Precautions: Neglecting to wear proper safety gear can expose you to harmful chemicals and debris.
Choosing the Right Replacement Caulk
Once you’ve successfully remove old silicone caulking, it’s time to choose the right replacement caulk. Consider the following factors:
- Material Compatibility: Choose a caulk that is compatible with the materials you’re sealing (e.g., tile, porcelain, glass).
- Application: Consider where the caulk will be applied. For example, bathroom and kitchen applications require caulk that is mold and mildew resistant.
- Type of Caulk: There are several types of caulk available, including silicone, acrylic, and latex. Silicone caulk is generally more durable and water-resistant, while acrylic caulk is easier to paint.
- Color: Choose a caulk color that matches the surrounding surfaces for a seamless look.
[See also: How to Apply Silicone Caulk Like a Pro]
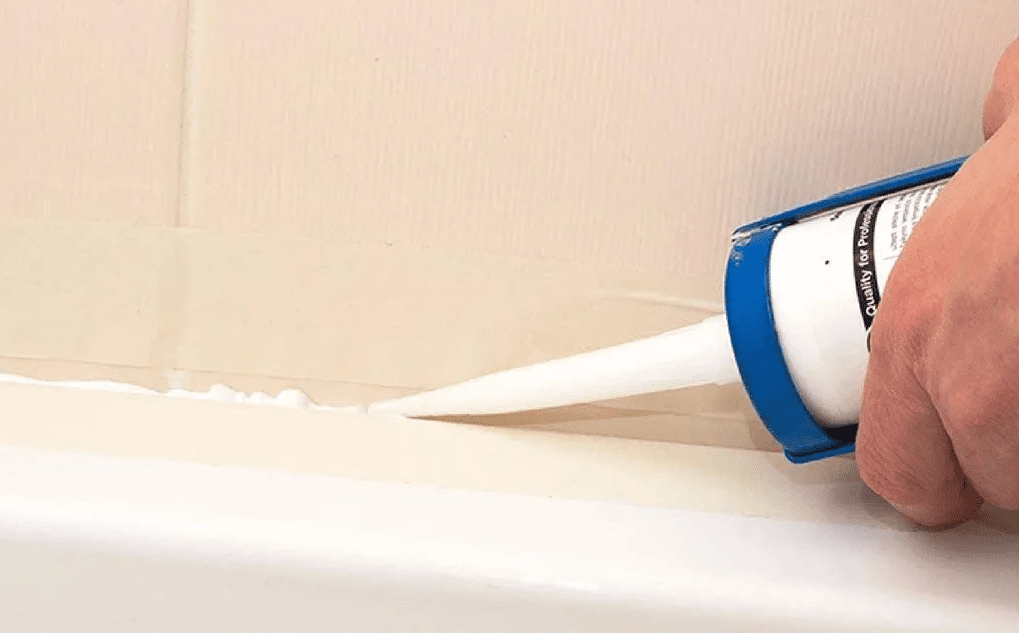
Applying New Caulk
Once you’ve chosen the right caulk, follow these steps to apply it properly:
- Prepare the Surface: Ensure the surface is clean, dry, and free of any debris.
- Load the Caulk Gun: Load the caulk tube into a caulk gun.
- Cut the Nozzle: Cut the nozzle at a 45-degree angle to the desired bead size.
- Apply the Caulk: Apply a smooth, even bead of caulk along the joint.
- Smooth the Caulk: Use a wet finger or a caulk smoothing tool to smooth the caulk and remove any excess.
- Clean Up: Clean up any excess caulk with a damp cloth or sponge.
- Allow to Cure: Allow the caulk to cure according to the manufacturer’s instructions.
Maintaining Your Caulked Surfaces
To prolong the life of your caulked surfaces, follow these maintenance tips:
- Clean Regularly: Clean the caulked surfaces regularly with a mild soap and water solution to prevent the buildup of dirt, grime, and mildew.
- Inspect Periodically: Inspect the caulk periodically for any signs of damage, such as cracks or discoloration.
- Repair Promptly: Repair any damaged caulk promptly to prevent water damage and mold growth.
- Re-Caulk as Needed: Re-caulk the surfaces as needed, typically every few years, to maintain a watertight seal.
Conclusion
Knowing how to remove old silicone caulking is a valuable skill for any homeowner. By following these steps and tips, you can safely and effectively remove old caulk, prepare the surface for new caulk, and maintain the integrity and appearance of your home. Remember to take your time, use the right tools, and prioritize safety throughout the process. With a little effort, you can achieve professional-looking results and enjoy a long-lasting, watertight seal.
Removing old silicone caulk may seem like a daunting task, but with the right tools and techniques, it can be a manageable DIY project. Don’t hesitate to tackle this task and improve the condition of your home. Proper preparation and execution are key to ensuring a successful outcome. Good luck!
