
How to Clean a Rusty Bike Chain: A Comprehensive Guide
A rusty bike chain is more than just an eyesore; it’s a performance killer. Rust increases friction, leading to slower speeds, decreased efficiency, and accelerated wear and tear on your drivetrain. Knowing how to clean a rusty bike chain is essential for any cyclist, from casual riders to seasoned pros. This guide provides a comprehensive, step-by-step approach to restoring your chain to its former glory, ensuring smooth rides and prolonging the life of your bike.
Why a Clean Bike Chain Matters
Before diving into the cleaning process, let’s understand why maintaining a clean bike chain is so important. A clean chain reduces friction, allowing you to pedal more efficiently. This translates to less effort expended and more speed gained. Additionally, a clean chain minimizes wear on the chainrings, cassette, and derailleurs, saving you money on costly replacements in the long run. Ignoring a rusty chain can lead to snapped chains mid-ride, potentially causing accidents and leaving you stranded.
Assessing the Damage: Is Your Chain Too Far Gone?
While cleaning can rejuvenate most rusty chains, there comes a point where replacement is the only viable option. Examine your chain closely. If the rust is superficial and primarily on the surface, cleaning is likely to be successful. However, if the rust has deeply penetrated the chain links, causing significant pitting and stiffness, replacement is the better choice. Attempting to clean a severely damaged chain may only provide a temporary fix, and the underlying damage will continue to worsen. You can also use a chain wear indicator tool to check for chain stretch. If your chain is stretched beyond the recommended limits, cleaning won’t solve the problem.
Tools and Materials You’ll Need
Gathering the necessary tools and materials before you begin will streamline the cleaning process. Here’s a list of what you’ll need:
- Chain cleaner tool or degreaser: A dedicated chain cleaner tool simplifies the process, but a good degreaser will also work.
- Chain cleaning solvent: Choose a bike-specific degreaser or a citrus-based cleaner. Avoid harsh chemicals that could damage the chain.
- Stiff-bristled brush: An old toothbrush or a dedicated bike cleaning brush is ideal.
- Rags or microfiber cloths: For wiping away dirt and grime.
- Chain lube: After cleaning, lubrication is crucial. Choose a lube appropriate for your riding conditions (wet, dry, or all-weather).
- Gloves: To protect your hands from grease and chemicals.
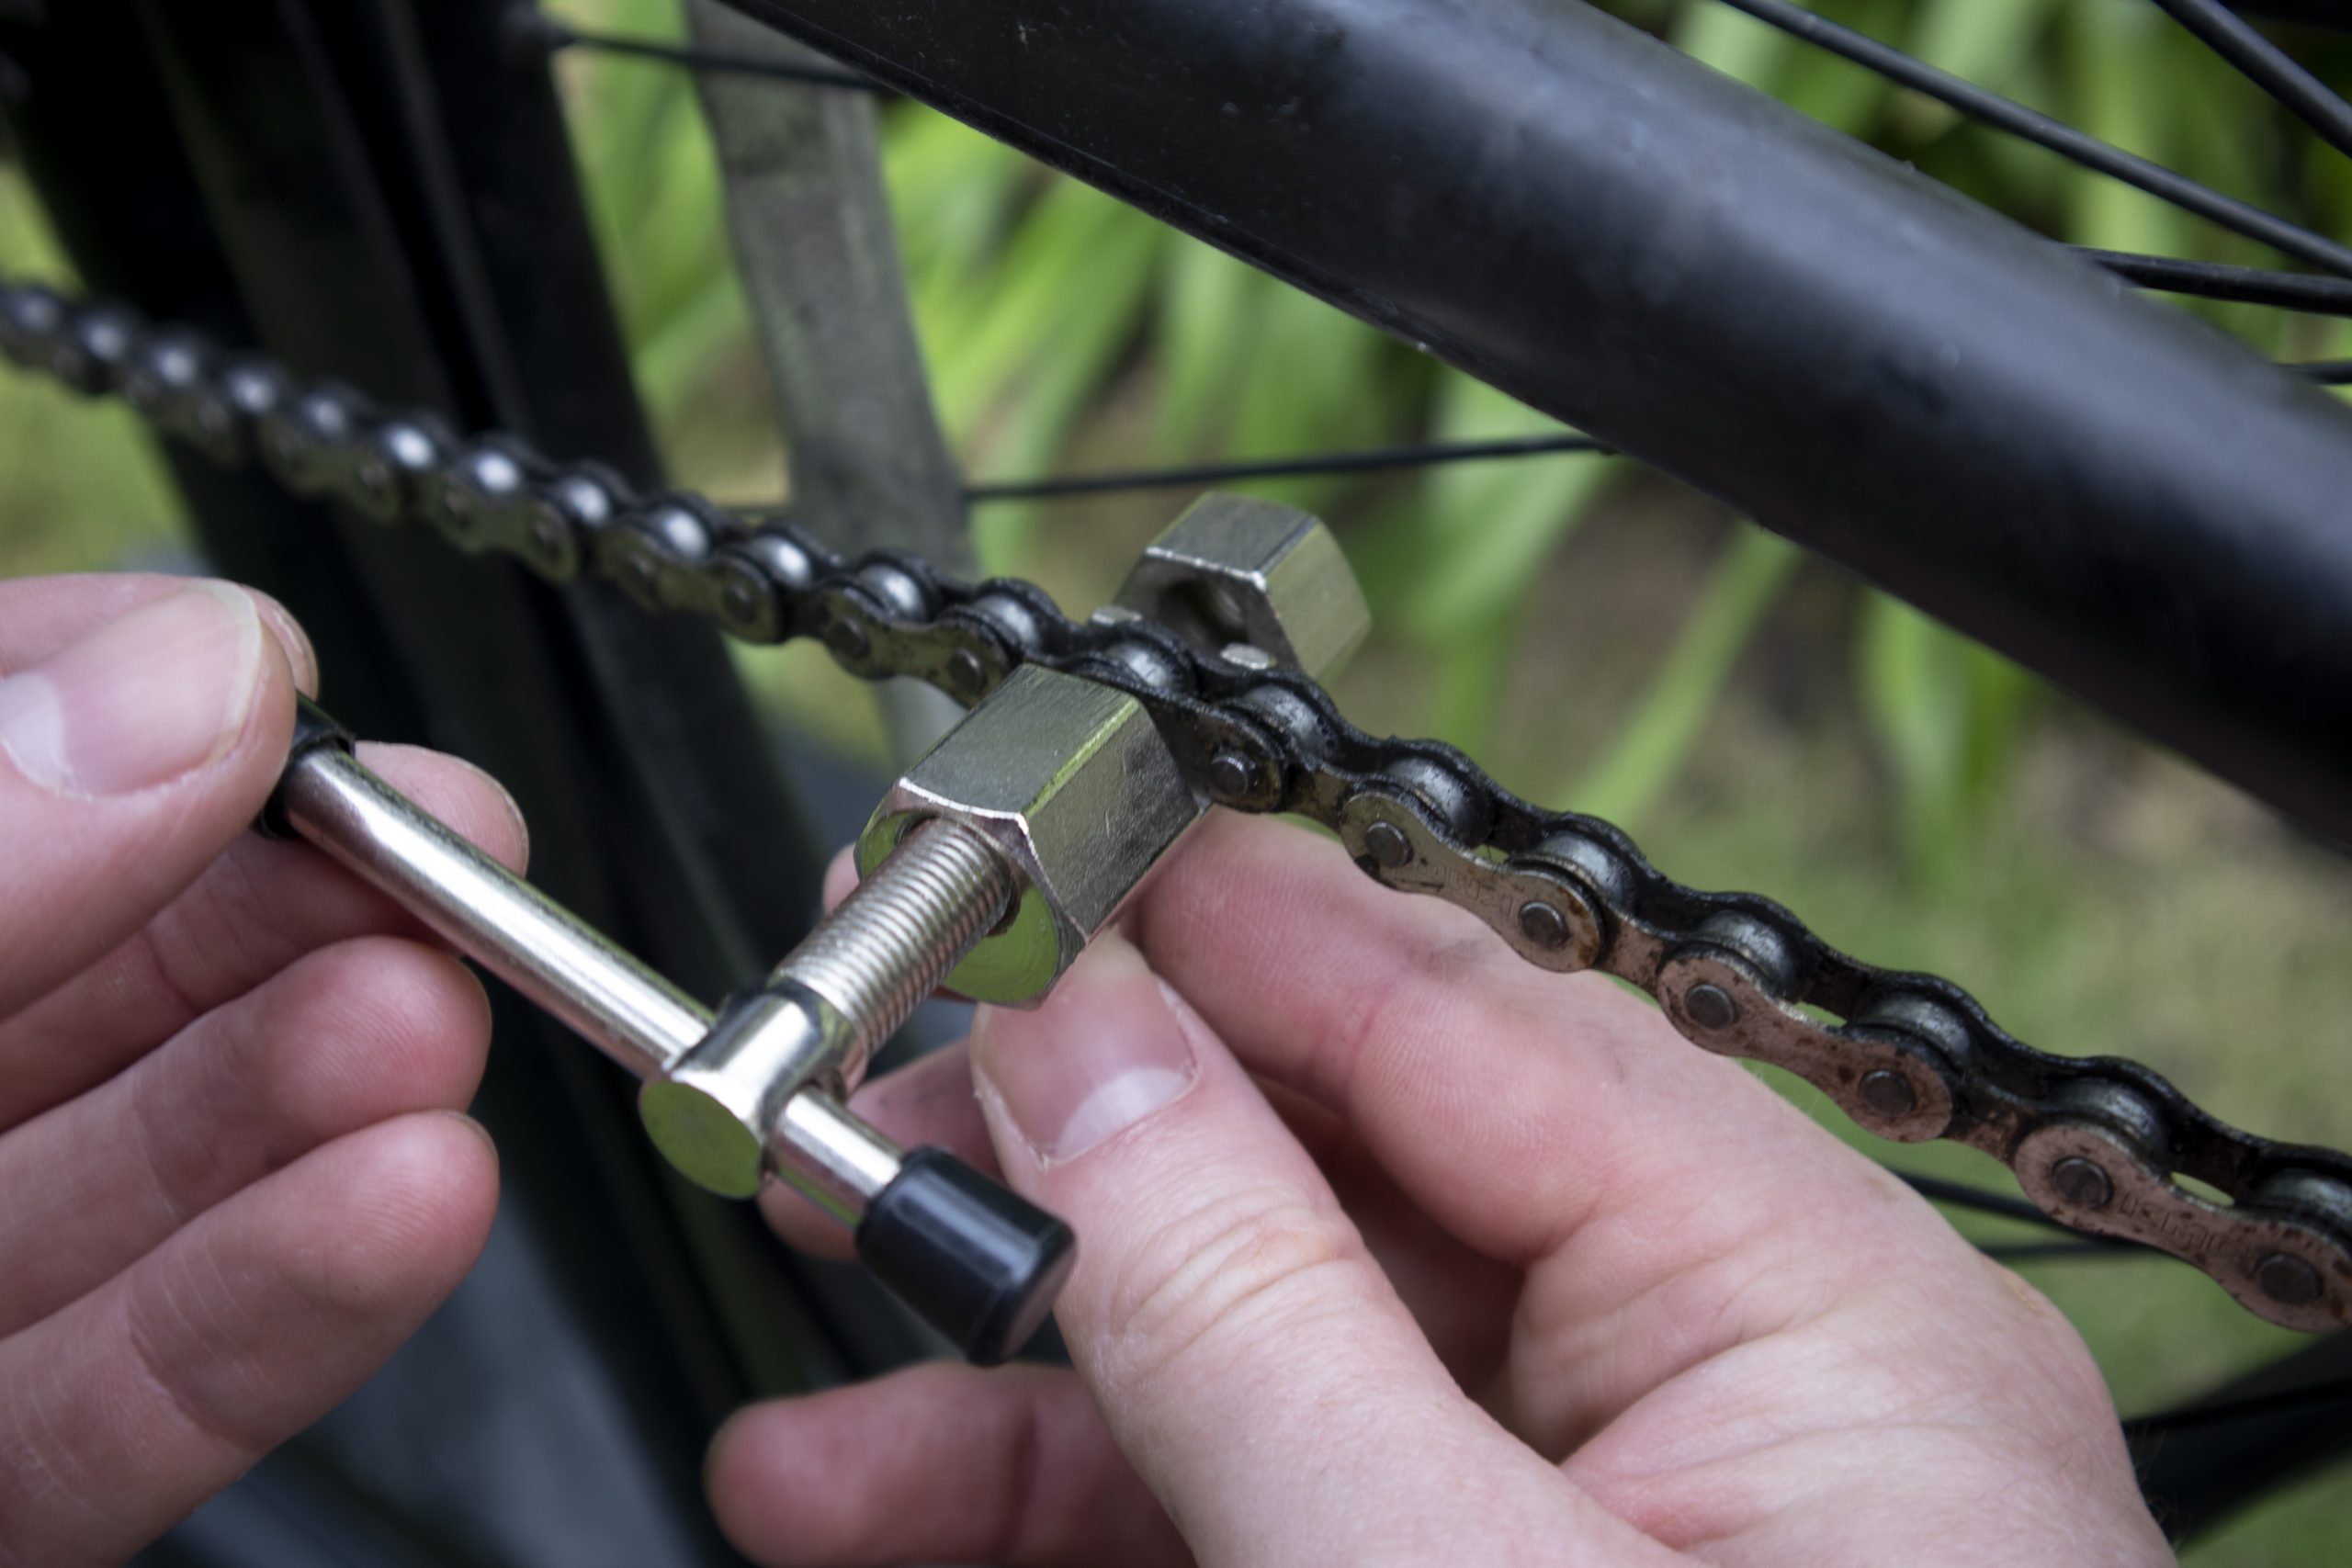
- Optional: Chain breaker tool: For removing the chain for a more thorough cleaning.
Step-by-Step Guide: How to Clean a Rusty Bike Chain
Follow these steps to effectively clean your rusty bike chain:
Preparation
Before you start, protect your work area by laying down some newspaper or an old towel. Wear gloves to keep your hands clean and protected from chemicals. If you plan to remove the chain, use a chain breaker tool to separate it at the master link. If not, proceed to the next step.
Degreasing the Chain
Using a Chain Cleaner Tool: Fill the chain cleaner tool with your chosen degreaser. Attach the tool to the chain, ensuring it’s properly aligned. Pedal backwards, allowing the chain to pass through the tool multiple times. This will loosen and remove dirt and grime.
Using Degreaser and a Brush: Apply degreaser liberally to the chain, ensuring all links are saturated. Let the degreaser sit for a few minutes to break down the rust and grime. Use a stiff-bristled brush to scrub the chain thoroughly, paying attention to the rollers and side plates. Rotate the pedals to clean the entire chain.
Rinsing the Chain
After degreasing, rinse the chain thoroughly with clean water. If you removed the chain, you can rinse it in a bucket of water or under a running tap. If the chain is still on the bike, use a spray bottle or a damp rag to rinse it. Ensure all traces of degreaser are removed, as degreaser can interfere with the lubrication process.
Drying the Chain
Completely drying the chain is crucial to prevent further rust formation. Use a clean rag or microfiber cloth to wipe the chain dry. Pay attention to the rollers and side plates, ensuring no water remains. For a more thorough drying, you can use a hairdryer on a low setting or allow the chain to air dry completely.
Lubricating the Chain
Once the chain is completely dry, it’s time to lubricate it. Apply chain lube sparingly to the rollers of the chain, one drop per roller. Rotate the pedals backwards to distribute the lube evenly. After applying the lube, let it sit for a few minutes to penetrate the chain links. Then, wipe off any excess lube with a clean rag. Excess lube attracts dirt and grime, negating the benefits of cleaning.
Alternative Methods for Cleaning a Rusty Bike Chain
While the above method is highly effective, there are alternative approaches you can consider:
Vinegar Soak
Vinegar is a natural rust remover. Remove the chain from the bike and soak it in a container of white vinegar for several hours or overnight. The vinegar will dissolve the rust. After soaking, scrub the chain with a brush, rinse with water, dry thoroughly, and lubricate.
Baking Soda Paste
Mix baking soda with water to create a paste. Apply the paste to the rusty areas of the chain and let it sit for a few minutes. Scrub the chain with a brush, rinse with water, dry thoroughly, and lubricate.
Citric Acid Solution
Citric acid is another effective rust remover. Dissolve citric acid powder in warm water. Soak the chain in the solution for several hours, then scrub, rinse, dry, and lubricate.
Preventing Future Rust
Prevention is always better than cure. Here are some tips to prevent your bike chain from rusting in the future:
- Regular Cleaning and Lubrication: Clean and lubricate your chain regularly, especially after riding in wet or dirty conditions.
- Proper Storage: Store your bike in a dry place to prevent moisture from accumulating on the chain.
- Use a Chain Lube Appropriate for Your Riding Conditions: Choose a wet lube for wet conditions and a dry lube for dry conditions.
- Wipe Down Your Chain After Each Ride: Use a clean rag to wipe down your chain after each ride to remove dirt and grime.
When to Replace Your Bike Chain
Even with regular cleaning and maintenance, bike chains eventually wear out and need to be replaced. A stretched or worn chain can damage your cassette and chainrings, leading to costly repairs. Use a chain wear indicator tool to check for chain stretch. If the tool indicates that the chain is worn beyond the recommended limits, it’s time to replace it. [See also: How to Replace a Bike Chain]
Troubleshooting Common Issues
Sometimes, even after cleaning, you may encounter issues. Here are some common problems and their solutions:
- Stiff Links: If some links are still stiff after cleaning, try applying a small amount of penetrating oil to the affected links and working them back and forth.
- Chain Skipping: Chain skipping can be caused by a worn chain, cassette, or chainrings. Replace the worn components.
- Noisy Chain: A noisy chain is often a sign of insufficient lubrication. Re-lubricate the chain.
Conclusion: Maintaining a Clean Bike Chain for Optimal Performance
Knowing how to clean a rusty bike chain is a fundamental skill for any cyclist. By following the steps outlined in this guide, you can restore your chain to its optimal condition, ensuring smooth rides, efficient pedaling, and prolonged component life. Regular cleaning and lubrication are key to preventing rust and maintaining your bike’s performance. Don’t neglect your chain – a little maintenance goes a long way in keeping your bike running smoothly. Remember to always prioritize safety by wearing gloves and working in a well-ventilated area when using degreasers and solvents. By investing a little time and effort in chain maintenance, you’ll enjoy a smoother, more efficient, and more enjoyable cycling experience. You’ll also save money in the long run by preventing premature wear and tear on your drivetrain. So, grab your tools, follow these steps, and get ready to experience the difference a clean chain can make. Cleaning a rusty bike chain is a simple task that yields significant benefits. A well-maintained chain contributes to a smoother, more efficient ride. Learning how to clean a rusty bike chain properly extends the life of your drivetrain. The process of cleaning a rusty bike chain involves degreasing, rinsing, and lubricating. Don’t forget, knowing how to clean a rusty bike chain also includes preventative measures. Make sure to always dry the rusty bike chain thoroughly after cleaning. This prevents future rust and corrosion. It’s also important to use the correct type of lubricant for your riding conditions when you clean a rusty bike chain. Finally, remember that sometimes a rusty bike chain is beyond repair and needs to be replaced. [See also: Best Bike Chain Lubricants] A rusty bike chain is a sign of neglect; regular maintenance prevents this. The steps to clean a rusty bike chain are straightforward and easy to follow. Keeping your rusty bike chain clean improves your cycling performance. Understanding how to clean a rusty bike chain empowers you to maintain your bike effectively. Remember, a clean bike is a happy bike, and knowing how to clean a rusty bike chain is key to that happiness. Don’t underestimate the importance of a well-maintained chain; it’s the heart of your bike’s drivetrain. So, get out there, ride hard, and keep that chain clean! Ignoring your chain can lead to more than just a rusty bike chain; it can affect your entire riding experience. Taking the time to clean a rusty bike chain is an investment in your cycling enjoyment.
