How to Remove Silicone Sealer from Tiles: A Comprehensive Guide
Silicone sealer is a versatile and durable material used to waterproof and seal gaps around tiles in bathrooms, kitchens, and other areas prone to moisture. However, over time, silicone can become discolored, cracked, or simply unsightly, necessitating its removal and replacement. Removing silicone sealer from tiles can be a tricky task, but with the right tools, techniques, and a bit of patience, it can be done effectively without damaging the underlying tile surface. This comprehensive guide will walk you through the process, providing step-by-step instructions and helpful tips to ensure a successful outcome.
Why Remove Silicone Sealer?
Before diving into the removal process, it’s important to understand why you might need to remove silicone sealer in the first place. Here are some common reasons:
- Mold and Mildew Growth: Silicone sealer is prone to mold and mildew growth, especially in damp environments like bathrooms. This can not only look unsightly but also pose health risks.
- Cracking and Deterioration: Over time, silicone can crack, shrink, or become brittle, losing its effectiveness as a sealant. This can lead to water leaks and potential damage to the underlying structure.
- Discoloration: Silicone can become discolored due to exposure to sunlight, cleaning products, or other environmental factors. This can detract from the overall appearance of the tiled surface.
- Aesthetic Upgrade: You may simply want to update the look of your bathroom or kitchen by replacing old, worn-out silicone with a fresh, new application.
Tools and Materials You’ll Need
Gathering the right tools and materials is crucial for a smooth and efficient silicone removal process. Here’s a list of what you’ll need:
- Sharp Utility Knife or Razor Blade Scraper: This is essential for cutting and scraping away the bulk of the silicone sealer.
- Silicone Removal Solvent: A specialized solvent designed to soften and dissolve silicone. Look for products specifically formulated for this purpose.
- Plastic Scraper or Putty Knife: Used to gently scrape away softened silicone residue without scratching the tiles. Avoid using metal scrapers, as they can damage the tile surface.
- Soft Cloths or Rags: For wiping away solvent and cleaning the area.
- Spray Bottle: For applying the silicone removal solvent.
- Protective Gloves: To protect your hands from the solvent and sharp tools.
- Safety Glasses: To protect your eyes from splashes and debris.
- Ventilation: Ensure adequate ventilation in the work area, as silicone removal solvents can have strong odors. Open windows or use a fan.
- Vacuum Cleaner or Brush: For cleaning up loose silicone debris.
Step-by-Step Guide: Removing Silicone Sealer from Tiles
Follow these steps carefully to effectively remove silicone sealer from your tiles:
Step 1: Prepare the Area
Before you begin, protect the surrounding area by covering any nearby surfaces with drop cloths or plastic sheeting. This will prevent accidental damage or staining from the silicone removal solvent. Ensure the area is well-ventilated.
Step 2: Score the Silicone Sealer
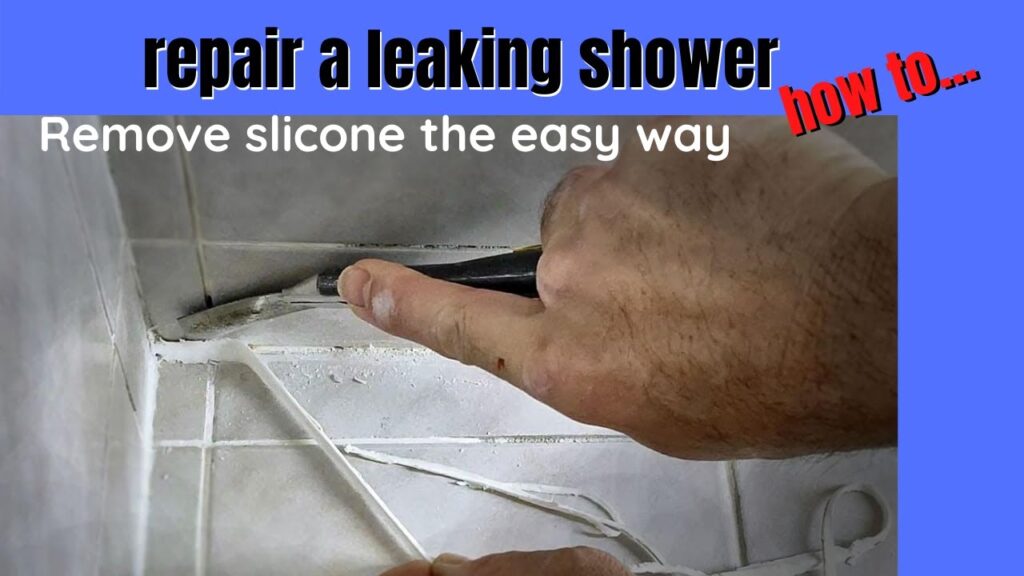
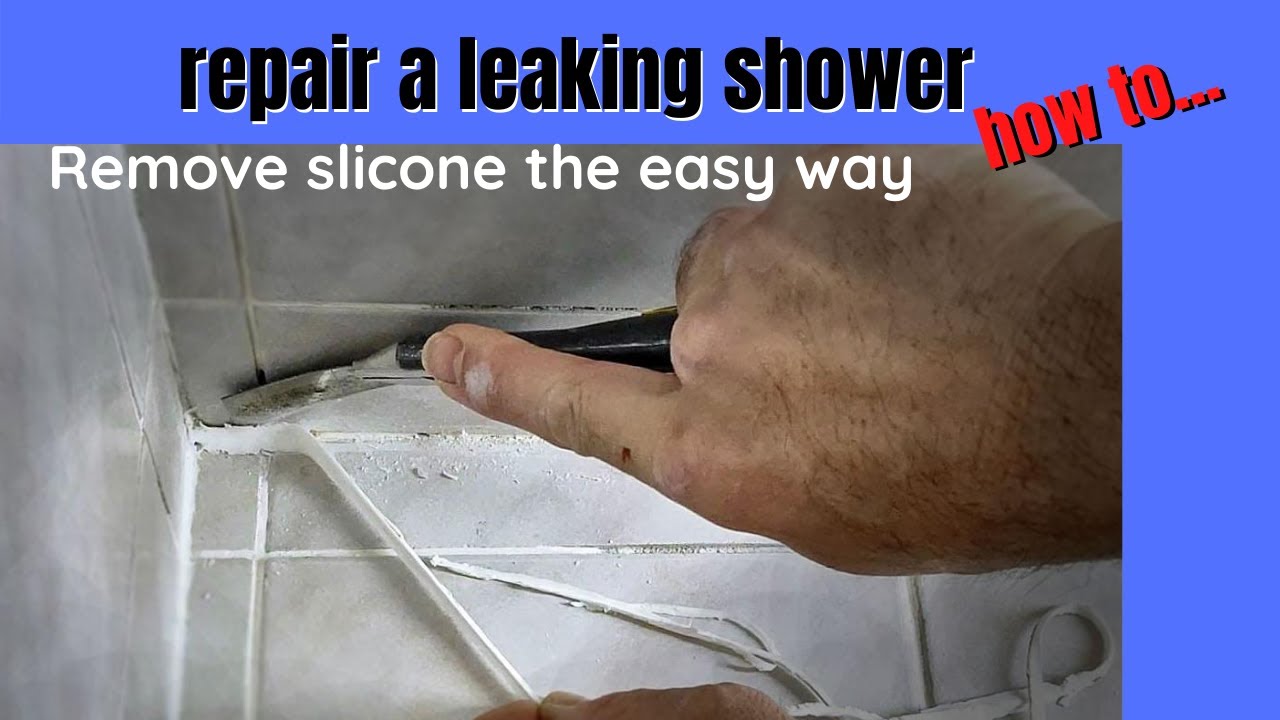
Using a sharp utility knife or razor blade scraper, carefully score along both edges of the silicone bead where it meets the tile surface. This will help to break the seal and make it easier to peel away the silicone. Be careful not to scratch the tiles during this step. Apply consistent pressure and maintain a steady hand.
Step 3: Remove the Bulk of the Silicone
Once you’ve scored the silicone, try to peel away as much of it as possible by hand. If it’s difficult to remove, use the utility knife or scraper to gently lift and pry it away from the tile. Work slowly and methodically, taking care not to damage the tiles. The goal is to remove the majority of the silicone sealer in large pieces.
Step 4: Apply Silicone Removal Solvent
After removing the bulk of the silicone, there will likely be some residue remaining on the tiles. This is where the silicone removal solvent comes in handy. Spray the solvent directly onto the remaining silicone residue, ensuring that it is thoroughly saturated. Follow the manufacturer’s instructions for the recommended soaking time. Typically, you’ll need to let the solvent sit for 15-30 minutes to allow it to soften the silicone.
Step 5: Scrape Away the Residue
Once the solvent has had time to work, use a plastic scraper or putty knife to gently scrape away the softened silicone residue. Work in small sections, applying consistent pressure and avoiding excessive force. The softened silicone should come off relatively easily. If you encounter stubborn areas, reapply the solvent and let it soak for a longer period.
Step 6: Clean the Surface
After removing all the silicone residue, clean the tile surface thoroughly with a soft cloth or rag dampened with water or a mild detergent. This will remove any remaining solvent and ensure that the surface is clean and ready for the application of new silicone sealer. You may need to use a specialized tile cleaner to remove any stubborn stains or discoloration.
Step 7: Dry the Area
Before applying new silicone sealer, make sure the area is completely dry. Use a clean, dry cloth to wipe away any excess moisture. You can also use a hairdryer on a low setting to speed up the drying process. Ensure that the tiles and grout are completely dry to ensure proper adhesion of the new silicone.
Tips for Removing Stubborn Silicone Sealer
Sometimes, silicone sealer can be particularly stubborn and difficult to remove. Here are some additional tips to help you tackle these challenging situations:
- Heat Gun or Hair Dryer: Applying heat to the silicone can help to soften it and make it easier to remove. Use a heat gun on a low setting or a hair dryer to gently warm the silicone before attempting to scrape it away. Be careful not to overheat the tiles, as this could cause damage.
- Steam Cleaner: A steam cleaner can be effective at loosening and softening silicone sealer. The hot steam penetrates the silicone, making it easier to scrape away. Use a steam cleaner with a nozzle attachment to focus the steam directly on the silicone.
- Multiple Applications of Solvent: If the silicone is particularly thick or stubborn, you may need to apply the silicone removal solvent multiple times. Allow the solvent to soak for the recommended time after each application, and then try scraping away the residue.
- Patience: Removing silicone sealer can be a time-consuming process, especially if it’s old or heavily soiled. Be patient and persistent, and don’t rush the process. Rushing can lead to mistakes and potential damage to the tiles.
Preventing Future Silicone Sealer Problems
Once you’ve successfully removed the old silicone sealer and applied new sealant, it’s important to take steps to prevent future problems. Here are some tips for maintaining your silicone sealer and preventing mold, mildew, and other issues:
- Regular Cleaning: Clean your tiled surfaces regularly with a mild detergent and water. This will help to remove dirt, grime, and soap scum that can promote mold and mildew growth.
- Proper Ventilation: Ensure adequate ventilation in bathrooms and kitchens to reduce moisture levels. Use exhaust fans during and after showering or cooking.
- Dry the Area: After showering or bathing, wipe down the tiled surfaces and the silicone sealer with a clean, dry cloth. This will help to prevent moisture from accumulating and promoting mold growth.
- Use a Mildew-Resistant Silicone: When applying new silicone sealer, choose a product that is specifically formulated to resist mold and mildew growth. These products contain additives that inhibit the growth of these organisms.
- Inspect Regularly: Inspect your silicone sealer regularly for signs of damage, such as cracks, discoloration, or mold growth. Address any issues promptly to prevent them from worsening.
Conclusion
Removing silicone sealer from tiles can be a challenging but manageable task. By following the steps outlined in this guide and using the right tools and techniques, you can effectively remove old, damaged, or unsightly silicone without damaging your tiles. Remember to be patient, work carefully, and take the necessary precautions to protect yourself and your surfaces. With a little effort, you can restore your tiled surfaces to their original beauty and ensure a long-lasting, watertight seal. Replacing the silicone sealer will not only improve the appearance of your bathroom or kitchen, but also prevent potential water damage and health hazards. Ensure you choose a high-quality silicone sealant and follow the manufacturer’s instructions for application to achieve the best results. Don’t forget to maintain the new silicone by cleaning it regularly and ensuring proper ventilation to prevent mold and mildew growth. With these tips, you can keep your tiled surfaces looking their best for years to come.
Removing old silicone sealer is crucial for maintaining a clean and aesthetically pleasing environment. By understanding the process and taking the necessary steps, you can easily tackle this task and ensure the longevity of your tiles and sealant. Good luck!
[See also: How to Apply Silicone Sealer Like a Pro]
[See also: Best Silicone Sealers for Bathrooms and Kitchens]

